


How To Care For Alocasia Plant - The Ultimate Growing & Care Guide
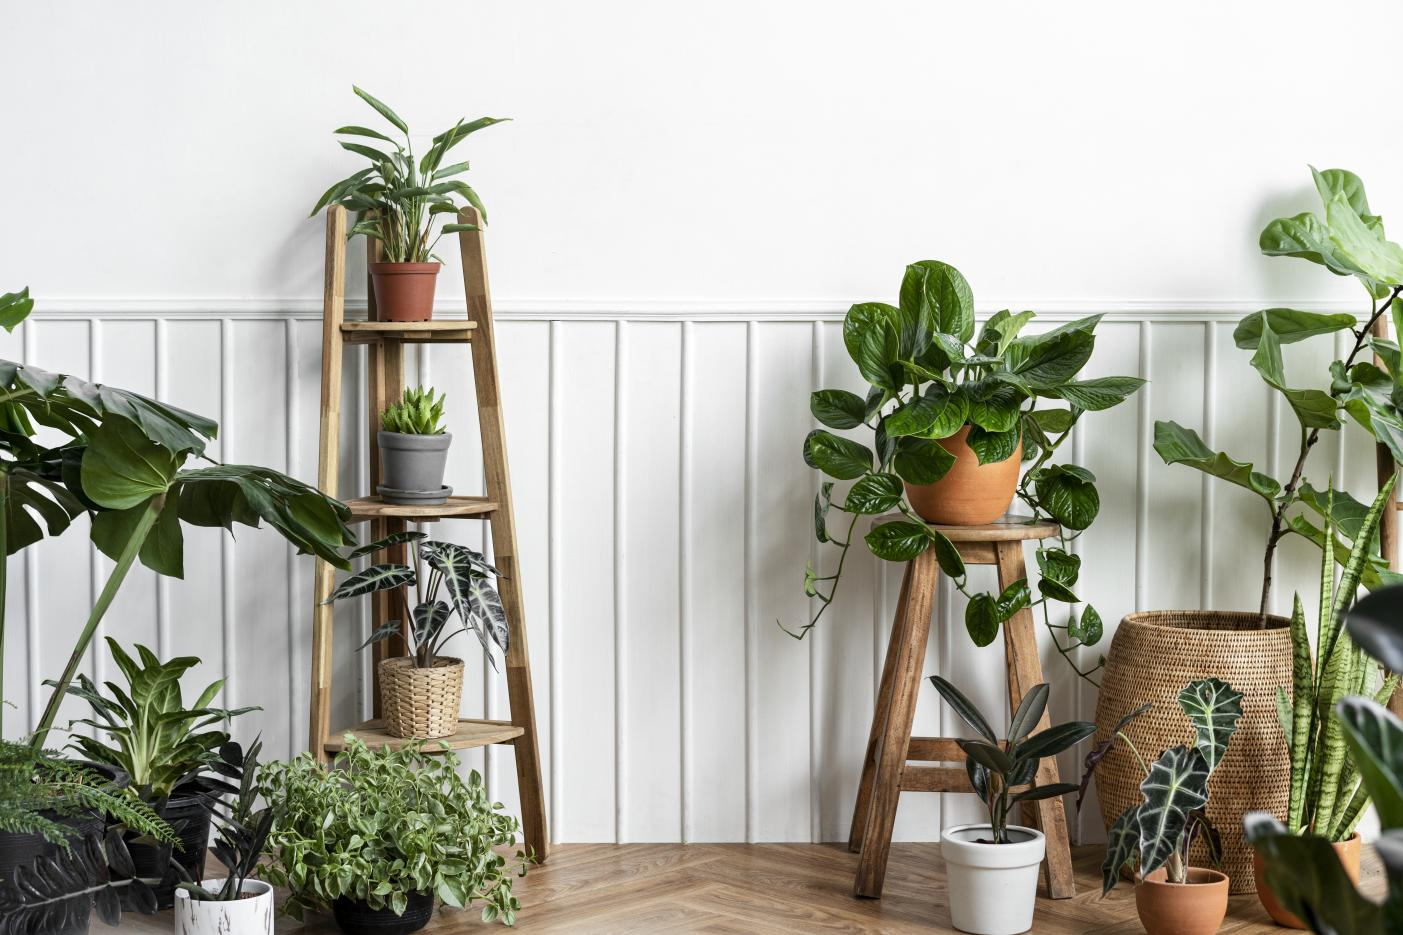
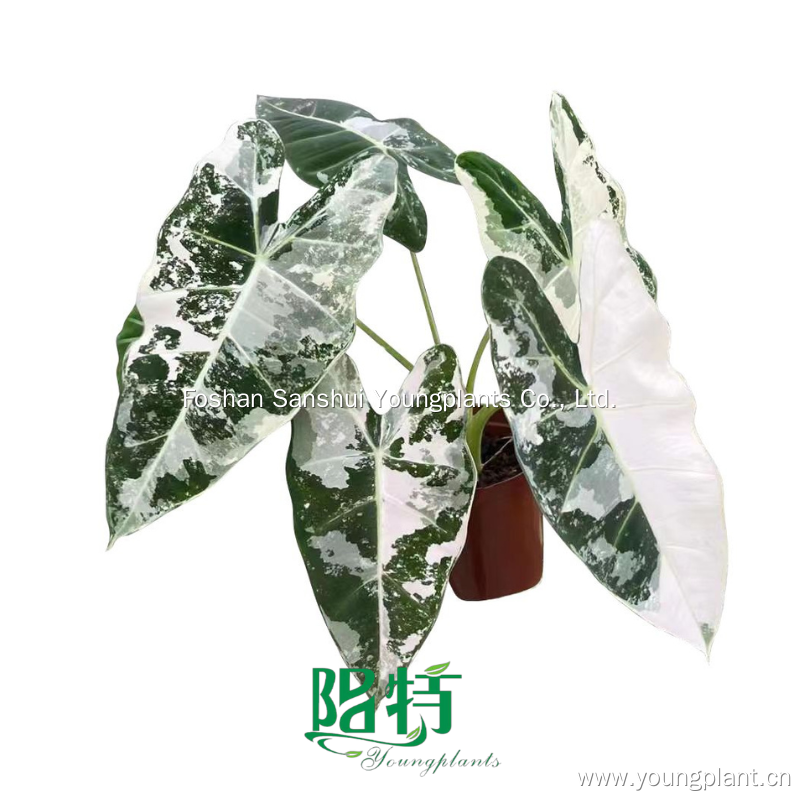
Let's discover the mysterious Alocasia plants' kingdom—those with large leaves and impressive patterns on the veins, which make the interior of your living room look like a tropical forest – but no bugs included!
These grand, ostentatiously beautiful plants are regarded as the diva of the plant kingdom; they are attention grabbers, as you will soon discover, plant lovers!
Caring for an Alocasia is like having a job that raises the level of difficulty in a gardener’s tasks, turning devotion into proficiency. But don't worry—in this Alocasia growing guide, we will demystify how to care for these lovely leafy jewels effectively. Not only will your Alocasia live a long, healthy life, but it will also turn into a showstopper at your next garden party.
Let's slash that watering can and begin the best Alocasia care guide!
Light Up Your Life: Finding the Perfect Spot for Your Alocasia
As far as Alocasia plant maintenance is concerned, light is one of the most critical players in the script. These botanical divas love bright, indirect sunlight – anything more direct than that can lead to the leaves turning dry.
Direct sunlight? No way, because this makes them look like they have had one too many at the beach. This means that growing Alocasia indoors is all about becoming an interior decorator in your own right.
An east-facing window is almost perfect, providing just the right morning light on the leaves, and doesn't make a furnace out of the room.
This is where the Alocasia needs to be placed to make the best of its beauty without overwhelming the room or being overshadowed in that four-walled stage (metaphorically speaking).
Failing the east position, a north-facing window will also suffice and be a bit stronger, though the light would be diffused.
But there is no need to worry if you are not in the best lighting condition. Light can be enhanced with sheer curtains, which help to filter the existing rays. Just be sure these artificial suns are set at some distance to prevent the leaves from getting burnt.
A quick reminder! Now that Alocasia is not just a piece of décor on the table, or as you would call it, a sidekick, but definitely your style, when positioned correctly, not only do you add beauty to the place, but you also add to the life and health of that space.
When provided with the correct Alocasia light requirements, you're preparing a perfect environment for the Alocasia to grow and be your lovely green indoor plant showpiece.
Water Wise: Keeping Your Alocasia Hydrated Without Drowning It
Similar to most decorative plants, Alocasia should be watered moderately; in other words, only moisten to the extent of its satisfaction, but nothing more than that!
Alocasias are particular about their hydration needs, preferring a Goldilocks approach. They were not excessive but also not insufficient, which meant they were perfect. For optimal reasons, water your Alocasia when the first inch of the growing medium is dry.
This usually translates to weekly watering sessions, although this varies depending on the home's season and humidity.
Here, overwatering is the real foe and may cause root rot—a growers' nightmare! They should also avoid the common mistakes of overwatering signs such as wilting, yellow leaves, or a soft stem.
If you see these signs, then it's high time you reduced the amount of water given to your plant and waited until it dries before watering it.
When growing Alocasia, make sure that the plant does not drown at the same time; therefore, drainage is essential. Select a container with good drainage, which should preferably have drainage holes on the bottom.
Use a well-draining growing mix. You may even include perlite or orchid bark in the mix to ensure light and avoid waterlogging. A plate at the bottom of the pot can help with this, but remember to remove the excess water after the plant has been watered lest it sits in the water.
With these tips for watering Alocasia plants, your plant will thank you for not drowning it in water, and its excellent foliage will shine as a happy superstar!
Soil Secrets: Reflecting on What Your Alocasia Wants
Introducing the ideal substrate for an Alocasia plant is as secret as the ingredient in your grandmothers' chocolate chip cookies. Best soil for Alocasia plants is nutrient dense while at the same time being aerobic.
Best of all, it fits into the concept of creating an affluent spa for their origin that is comfort and utility at its finest. Let us start with a discussion of drainage; Alocasias are not particularly thrilled about being too wet, which require excellent drainage.
A high-quality potting mix forms a great base, but here's where you channel your inner soil magician: using perlite or coarse sand on top of the potting mix will improve drainage. These little additions work like our trainers in instructing the roots not to allow water to spend time beyond its due time. Do you want to make it even more comfortable? Add a little bit of orchid bark or coconut coir. These elements enhance drainage and introduce aeration so that the roots breathe well. And for that nutrient boost, some soil builders such as compost or worm castings will make your bed gourmet enough for a king or queen of the leafy plant.
If you give your Alocasia the perfect soil mix to provide it with the support it needs, you'll get all the praise you deserve for being the elite of plant care. Therefore, let's get mixing and see your Alocasia perform like the star it was destined to become!
Temperature Perfect: Keeping Your Alocasia Cozy Year-Round
Regarding the temperature conditions for your Alocasia, the warmth and stability should be the main points of concern. They are native to Australia and are happiest when the temperature is between 18 °C and 27 °C.
Alocasias hate it when the temperatures are either too high or too low, so the appropriate temperature needs to be maintained. Don't put them near windows, desks with floor vents, or in front of a fan that blows on them.
Specifically, when your heater is in full operation during the cooler seasons, take a closer look at the humidity. The members of the Alocasias family prefer that they get some moisture; therefore, it is advised to spray them daily or put a humidifier nearby.
For a memorable experience, a humidity tray with pebbles and water will do the trick, making your plant corner become a spa. During winter, they must not be kept in areas with doors that allow cold drafts, while during summer, they shouldn't be exposed to direct sunlight. There is nothing worse than a cold Alocasia; if you have the feeling the temperature starts going down, try moving the plant to a warmer area or using a heater to warm the area. As the seasons change, be mindful of their placement. In winters, a spot away from drafty doors is ideal, while in summer, ensure they aren't sunbathing in direct sunlight.
Propagation Party: Spread the Alocasia Love with These Tips
Alocasia propagation is a highly fulfilling process since it spreads very fast within a plant collection. The following steps can help you grow new plants from an existing one in a proper way:
First, let’s discuss division – it is one of the most traditional ways in which Alocasia can be reproduced. This process entails some sort of peeling, which is like shaving the plant at the base or, as we call it, severing roots and rhizomes.
Begin cautiously by taking your Alocasia out of its pot and sieving off the substrate to show the origins of the plant. Search for offsets—additional plants germinating from the parent plant or baby plants growing as peninsulas from the main plant.
With a clean and sharp knife, dissociate these sections and make sure all of them are cut with a healthy root system and a few leaves to show.
Finally, those new plants must be potted once they have been separated. Select a container with drainage holes and use a well-draining soil composite as your growing medium.
Bury the divisions in the soil at the same depth as they used to grow before planting; give the divisions some water so they can adapt to the new environment. Grow them in warm, moist conditions out of direct sun to provide them with the best environment for growing.
It only takes a bit of slowing down and making sure that extra care is given to your Alocasia family in order for it to grow and turn your home into a lush gem.
Conclusion
These Alocasia plant care tips are certainly a treat for any plant lover. It is an incredible process of understanding and comprehending light, water, soil, heat, and Alocasia reproduction. When choosing the location for your Alocasia, it's essential to distinguish the optimal lighting that your Alocasia needs: it has to be bright and indirect and, with the proper moisture provisions, as well as well-draining soil, you create the appropriate environment for it to become a healthy plant. Maintaining a steady temperature and participating in propagation endeavors make the plant parenting experience even more gratifying.
Happy Alocasia hunting, or just be satisfied with your Alocasia plants any way you want!
